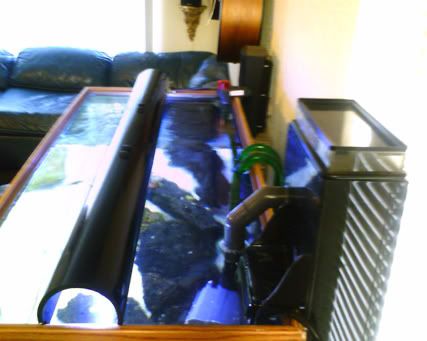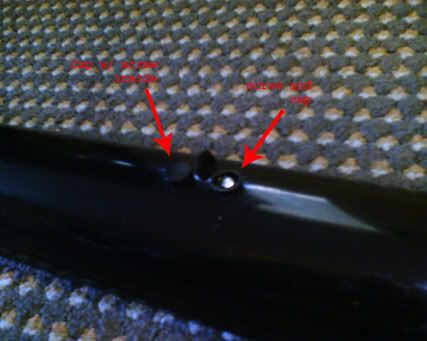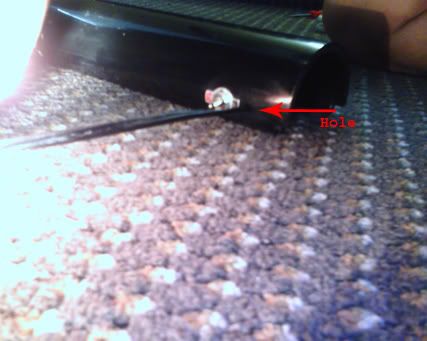


I'm getting a bigger tank, and setting up a much better lighting system, so i figured i'd start documenting the DIY stuff i did for this tank before i break it down. First up, the cheap ghetto lights i made for it back when it was a FW african cichlid tank. I made these before i really knew about reefing or had any intention for salt water. It's going to be really hard to do a DIY for something that's already built, because alot of it i can't take apart. Sorry if the pics are confusing! Oh and also sorry for the crappy cell phone pics. Crappy fixed focal length junk...Anyways, here we go..
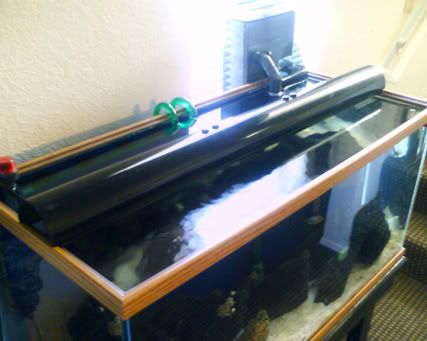
Here they are off:
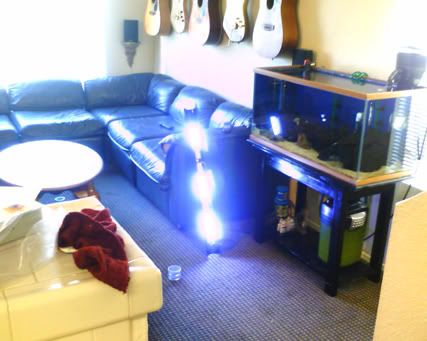
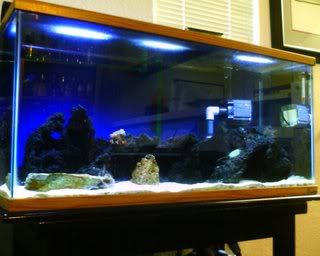
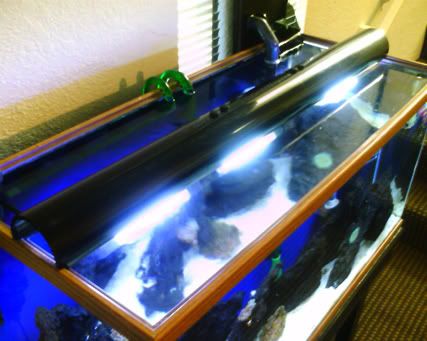
and here they are when they're on:
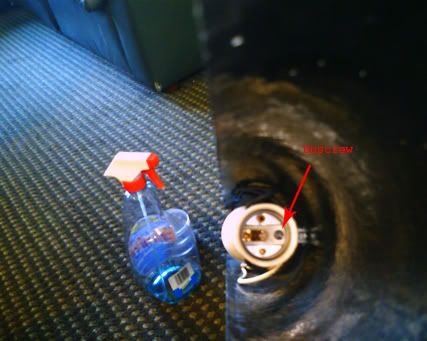
These lights don't have crazy output, but they're actually decently bright, and make the tank look pretty good. My tank is basically fish only , and the fish look real nice in the light(they're hiding in the pics cuz i was messing with the tank). The couple pieces of coral i've got have been growing too, but not super fast. These lights use the Coralife 50/50 compact flourescent lights. There are 3x20 watt bulbs, each of which is half actinic, and half 10,000K. However, they're the kind that you screw into a standard bulb socket, that's the secret to making this setup so cheap.
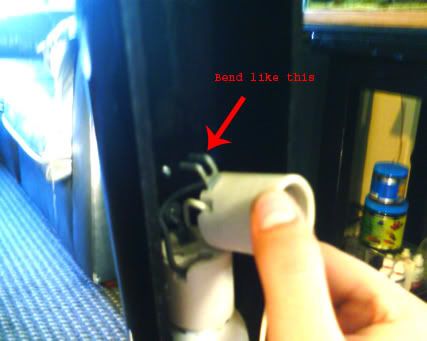
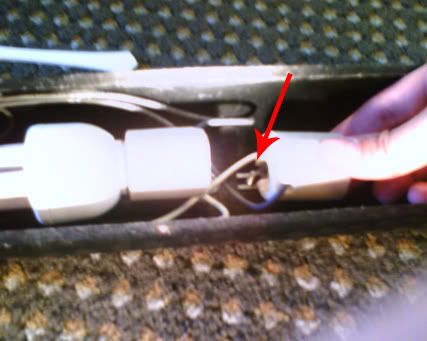
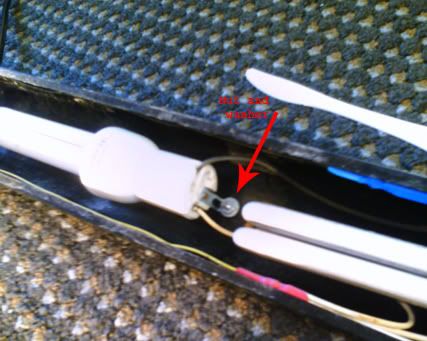
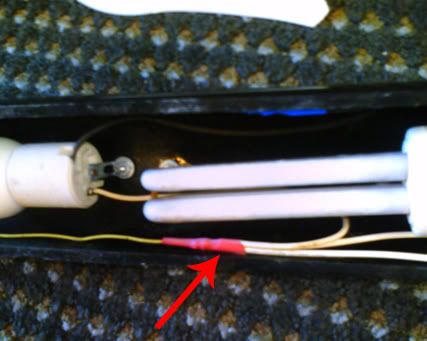
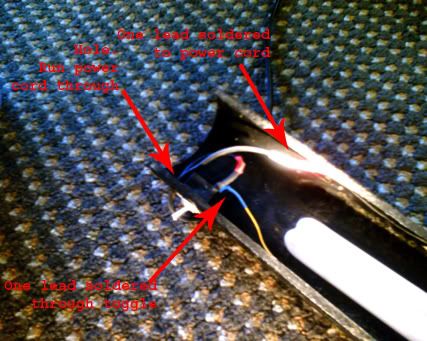
To do this project, i highly recommend that you be able to solder and heatshrink wires together. There isn't room in the tube for bulky connectors.

 Reply With Quote