I know many people struggle with taking pictures of coral in their tanks, with the lighting often times causing a blue wash to overpower the picture and make coral very hard to view accurately. So lets learn a few basic and simple ways we can beat the problems we face in reef photography.
Here I will start with an easy way to "unblue" your pictures, but we can always go over other issues faced when taking pictures, so feel free to add on whenever the need arises!
For this first entry I will go over 2 methods to lessen the effect of blue wash when taking pictures using a cell phone and using the basic built in editing software. This job can be accomplished with even better results using better editing software (photobucket editing - photoshop) using the same principles. So first let's start by saying editing IS NOT BAD OR SHADY OR DISHONEST, it is what you do with this editing that determines ethical right or wrong. Using editing to show an honest representation of a corals color is a GOOD practice. It helps in identification, selling, aesthetic beauty. We are all proud of our tanks, let's show them off! Ok, here we go...
Step 1: Take a picture
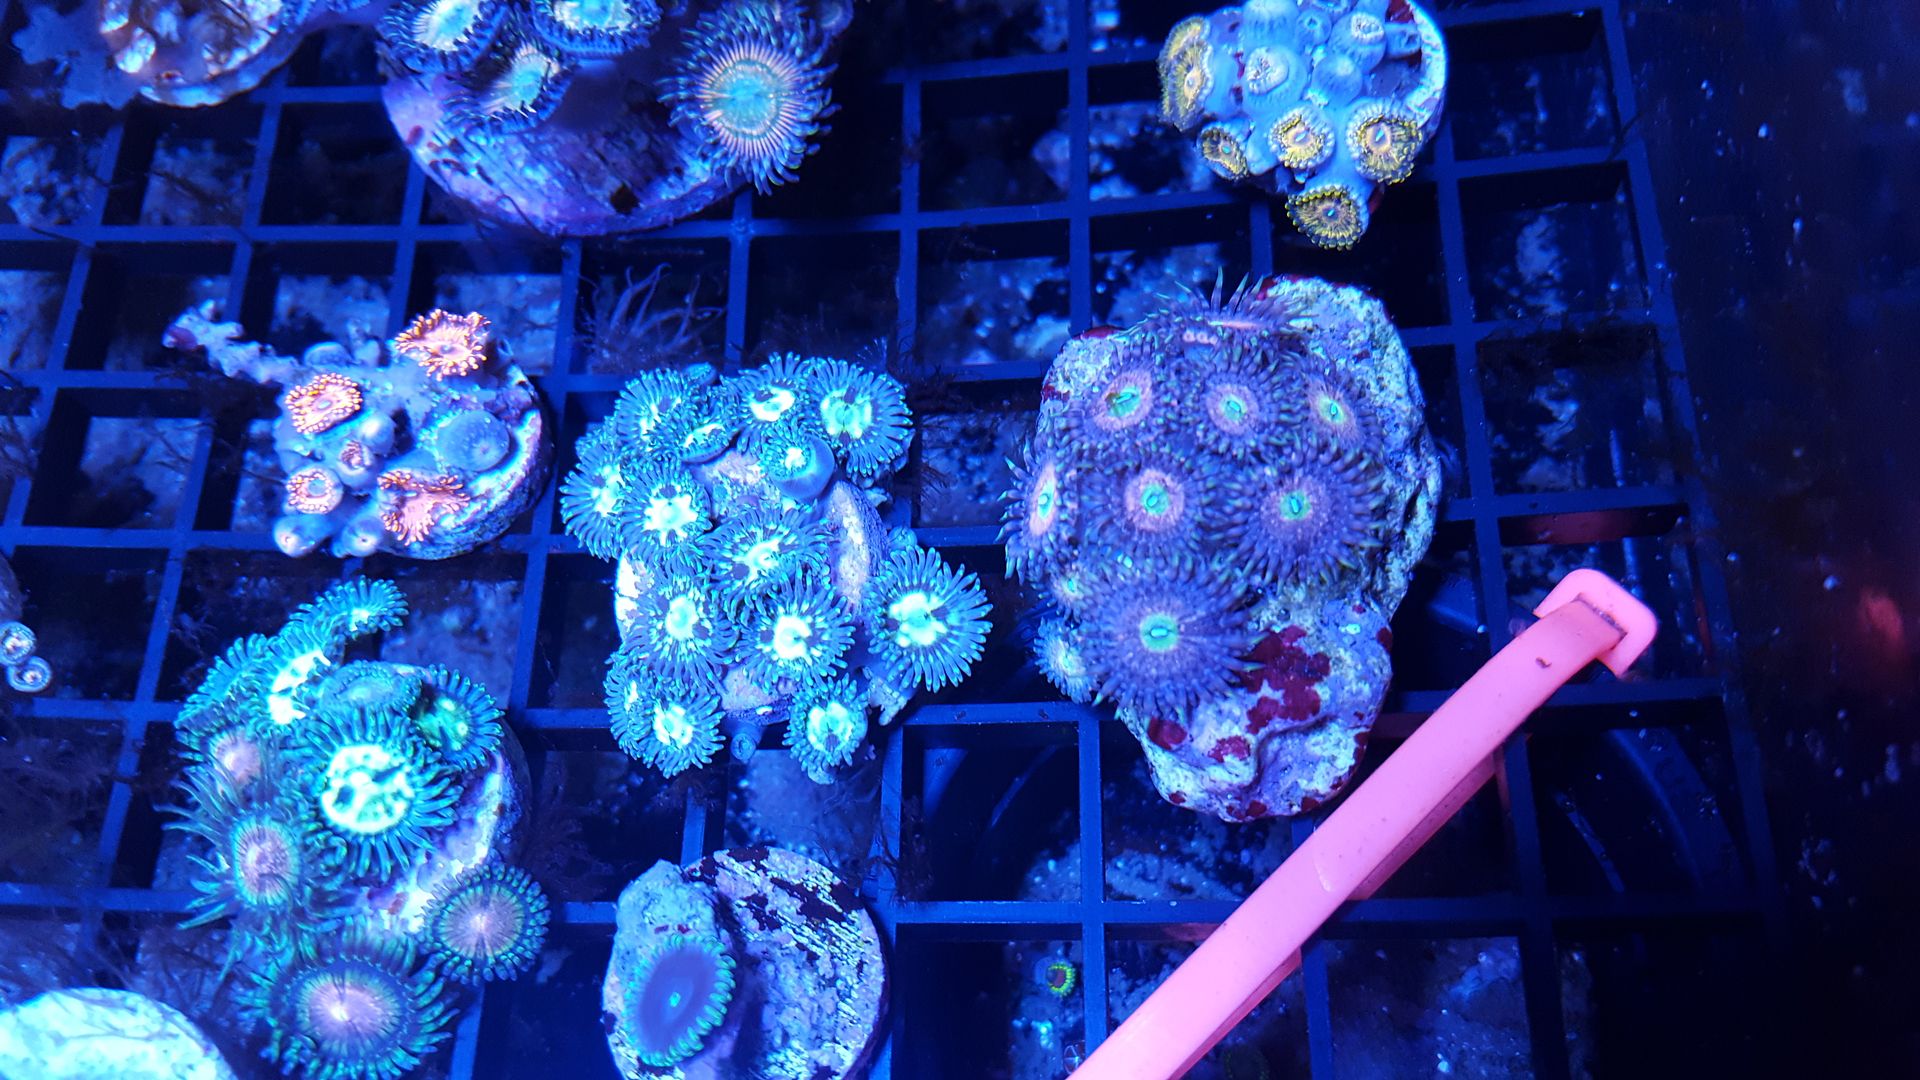
For the purpose of this process I took this picture under straight LED lighting (no T5 or halide supplement) using a china box LED with blues turned all the way up and whites just turned on enough that the bulbs turned on, so likely less than 10%. I did this in order to show as drastic of blue wash as possible with what is a fairly common lighting. Use this same process for any lighting setup that leaves you with a blue wash tho. Here is my original image.
Step 2: Edit
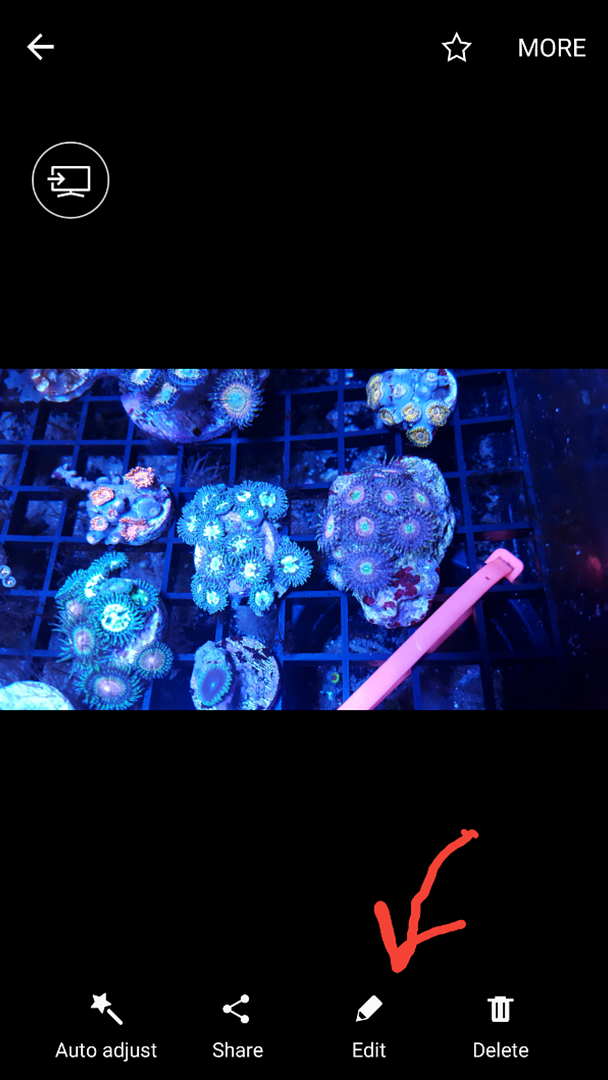
Go to your picture and click the edit button.
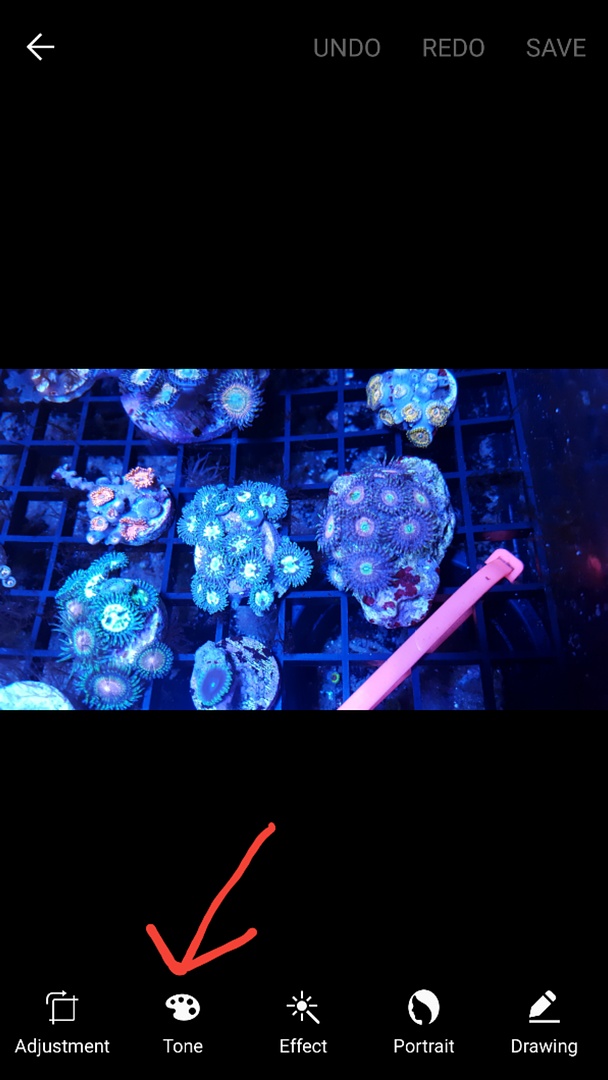
After clicking edit, then click on the tone button.
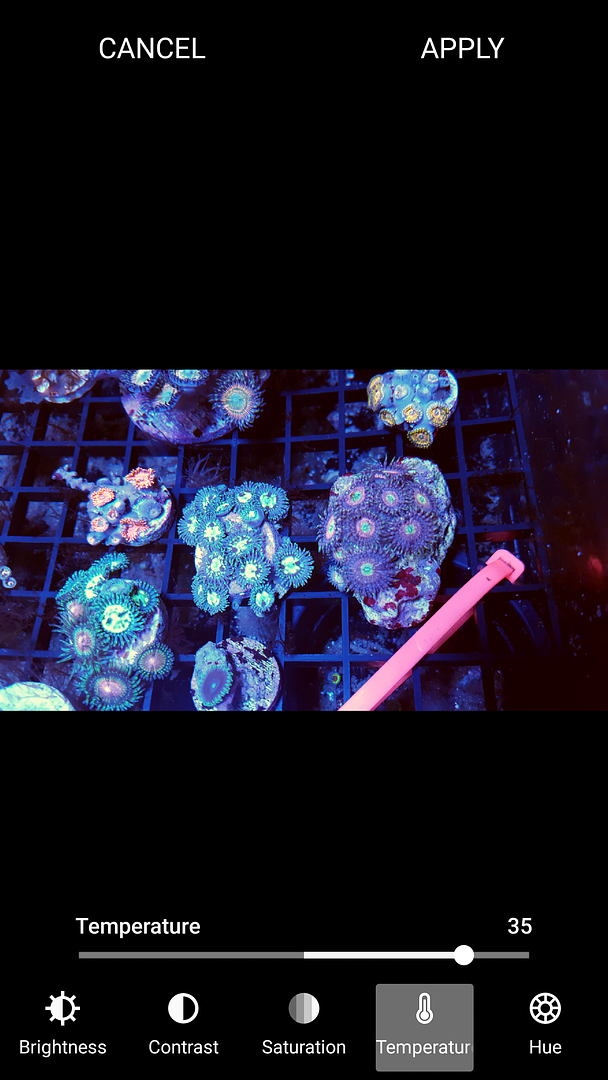
Step 3: Temperature
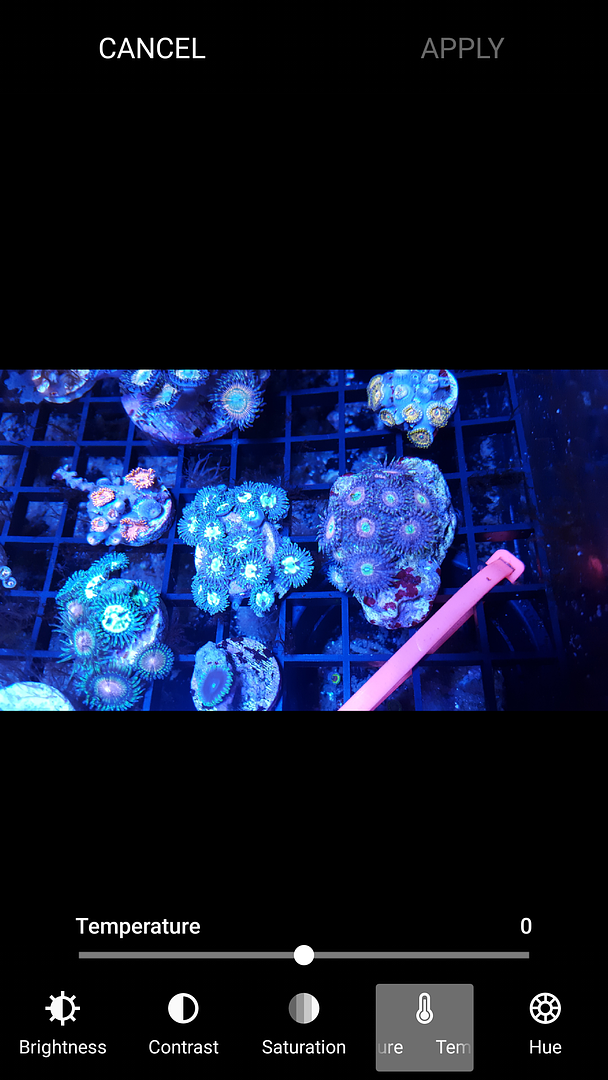
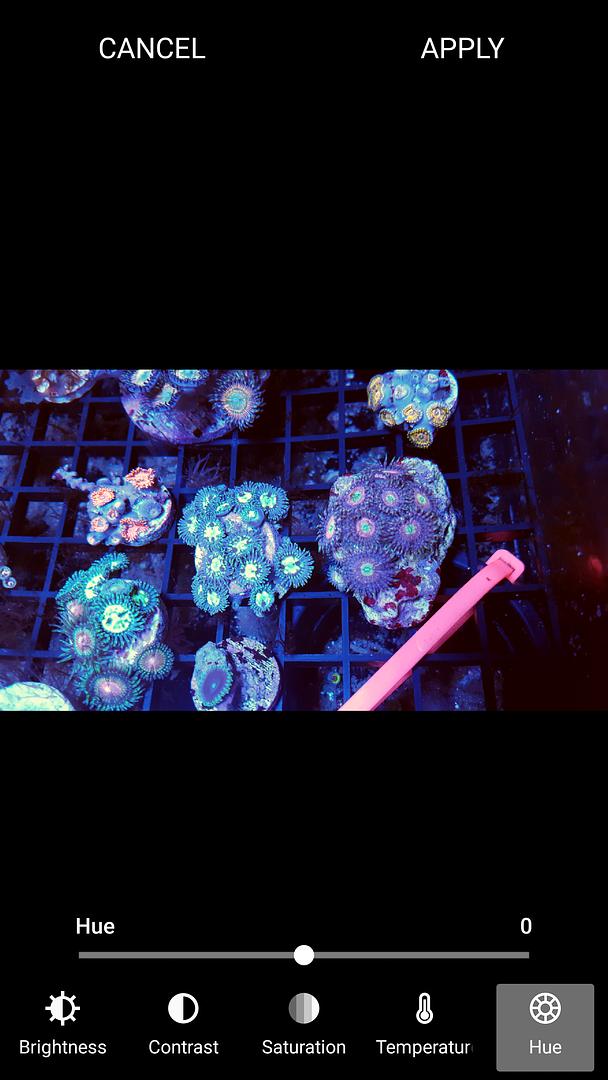
Now select the Temperature and adjust until you reach what is realistic.
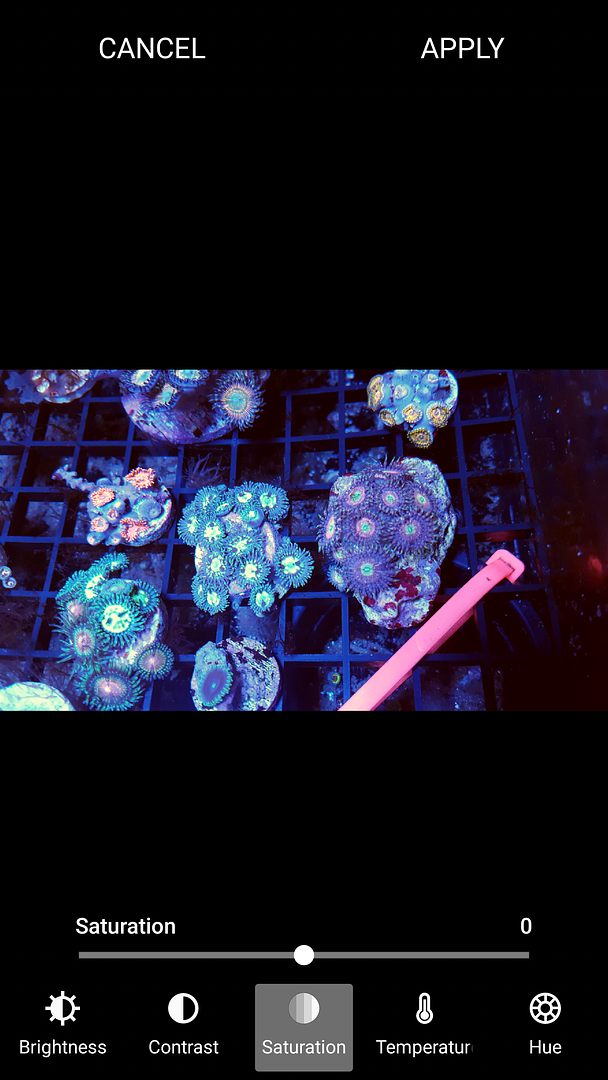
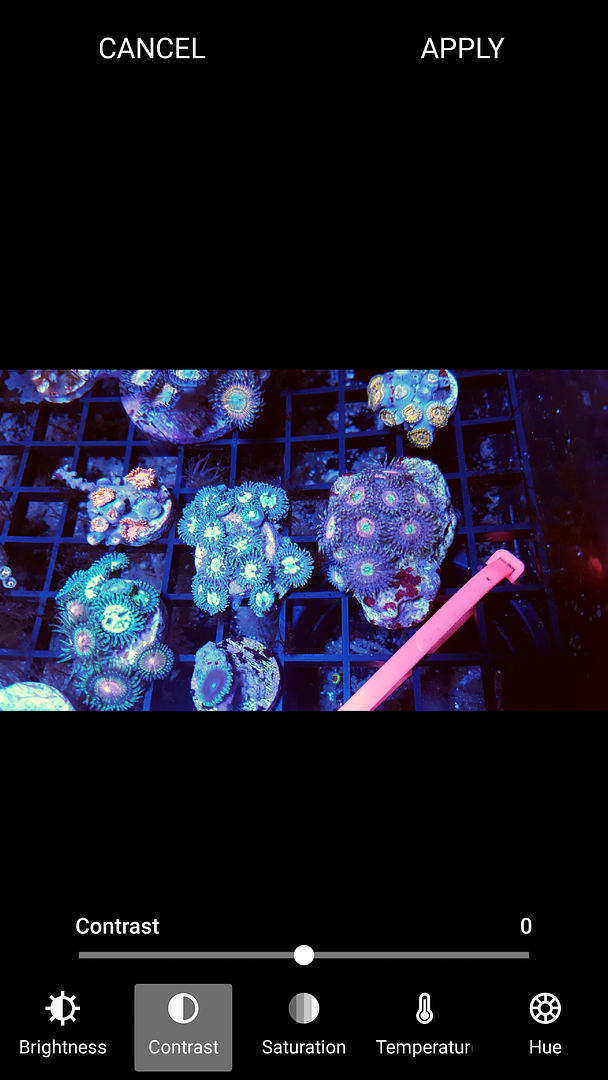
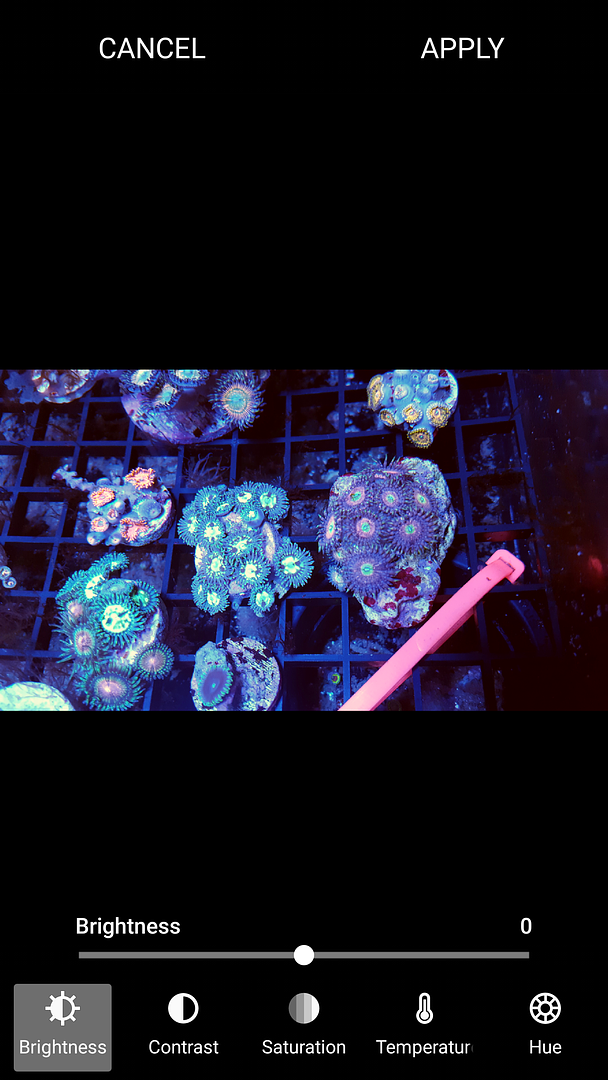
Now for the purposes of this I am leaving everything else at zero, some of these are the judgement call edits (Saturation being the biggest one). It will be necessary to use these sometimes in one fashion or another but we can go into that at a later time as it's not needed for the purposes of this editing process.
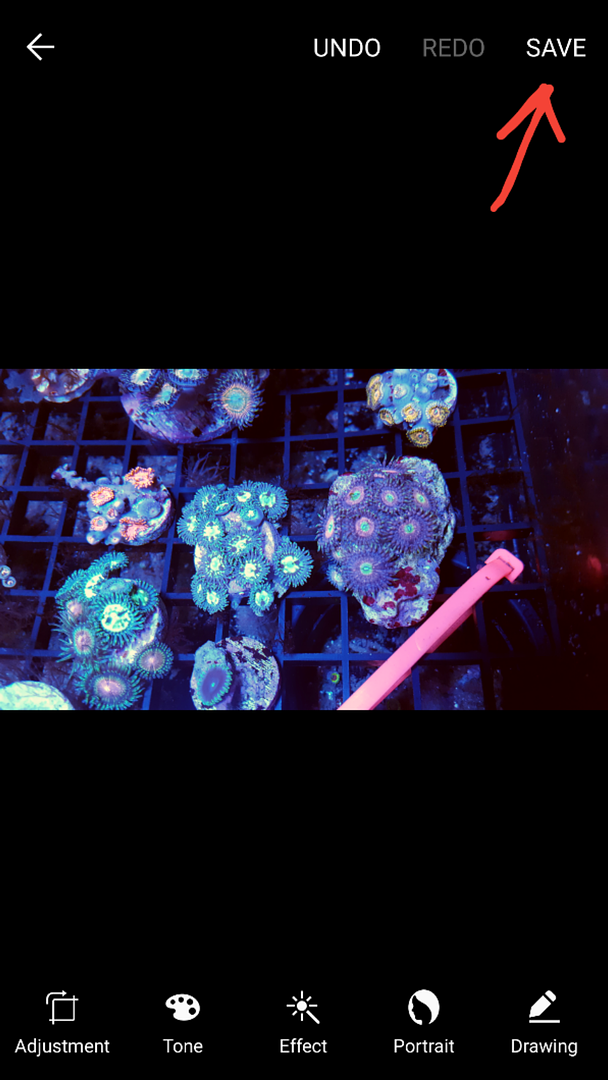
Step 4: Save
Now save your work and you're all finished!
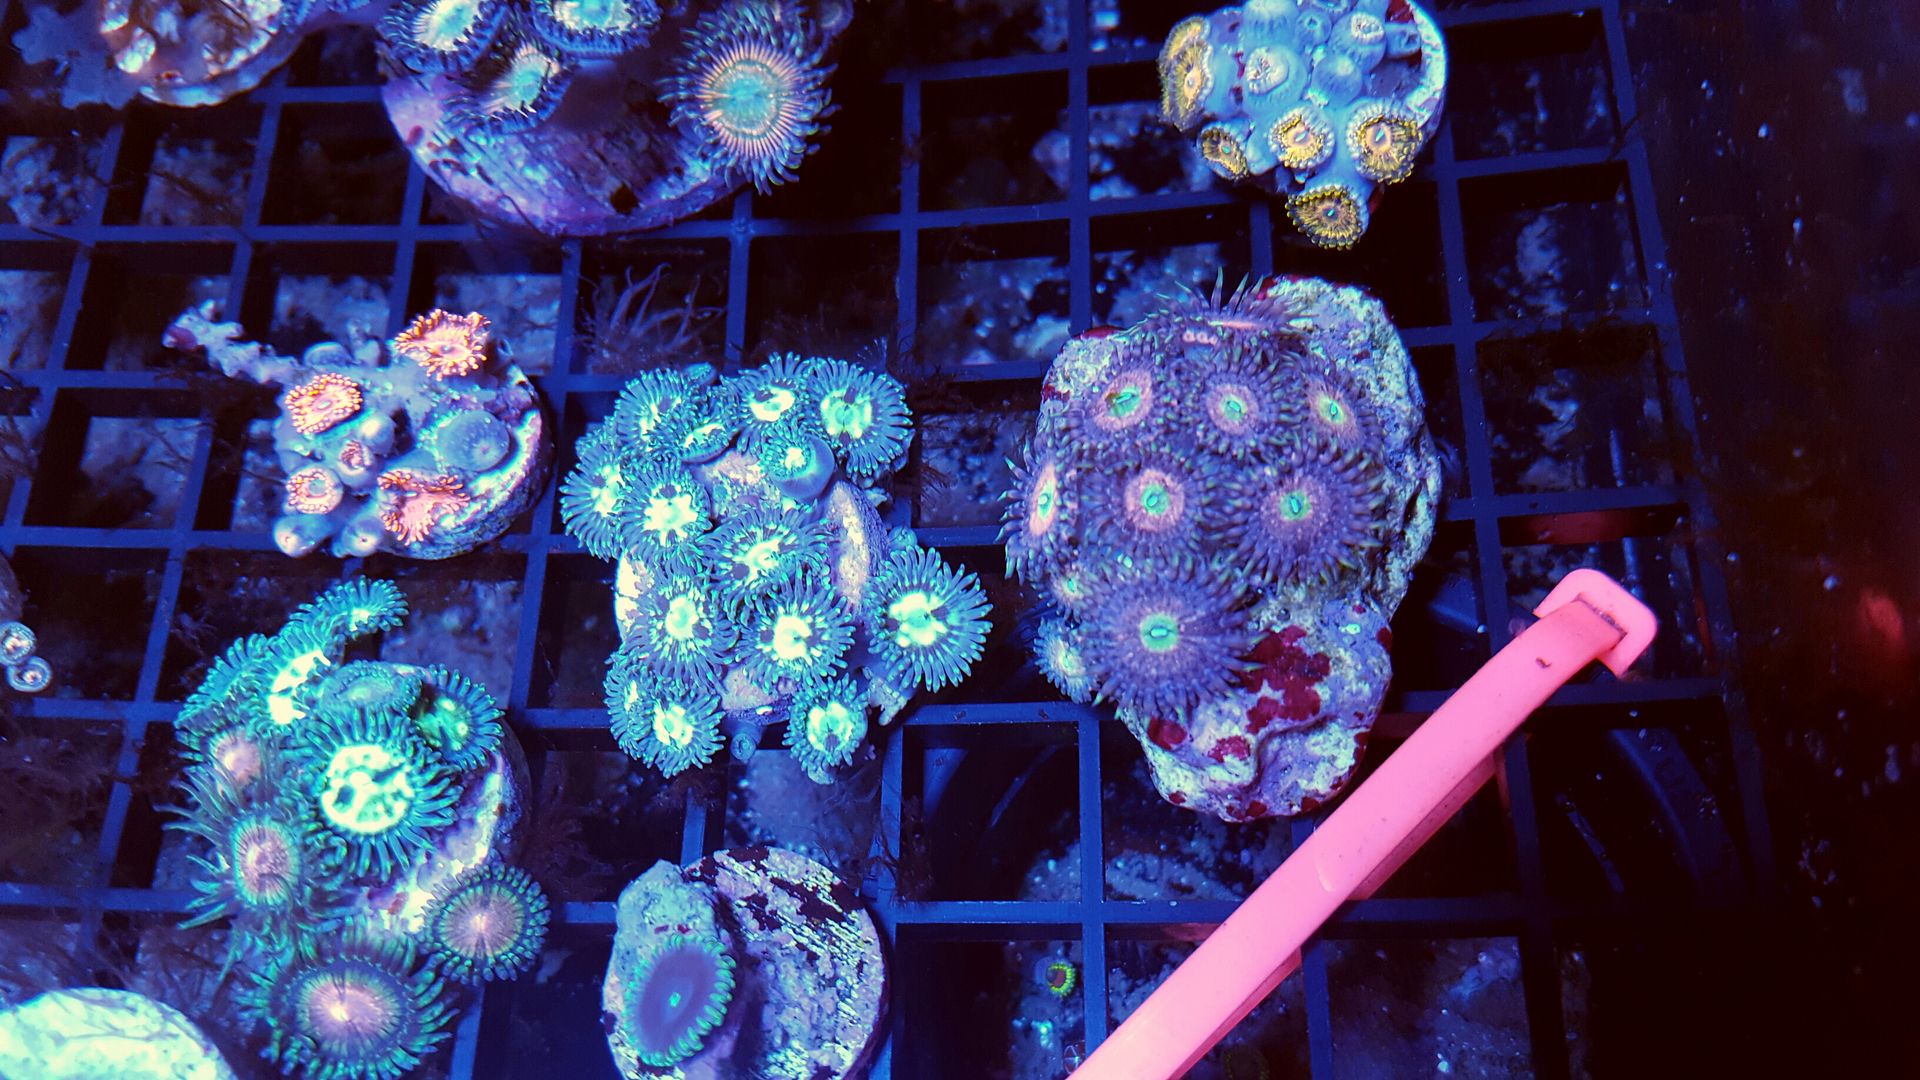
Here is the final product, much more realistic representation of the coral.
And remember, better equipment, better software and the results will be even better! But this can be done in a matter of moments from the ease of your cell phone.



 Reply With Quote