New Page 2


Welcome to SDR!

  • Amused
  • Angry
  • Annoyed
  • Awesome
  • Bemused
  • Cocky
  • Cool
  • Crazy
  • Crying
  • Down
  • Drunk
  • Embarraded
  • Enraged
  • Friendly
  • Geeky
  • Grumpy
  • Happy
  • Hungry
  • Piratey
  • Poorly
  • Sad
  • Shy
  • Sneaky
  • Tired
  • + Reply to Thread
    Page 1 of 8 1 2 3 ... LastLast
    Results 1 to 15 of 114

    Thread: Returning to reefing

    Hybrid View

    1. #1
      pirate2876 is offline Registered User
      Enter Status Here..
       
      I am:
      Poorly
       
      Join Date
      Apr 2006
      Location
      Lake Hodges, Escondido
      Posts
      2,513

      Returning to reefing

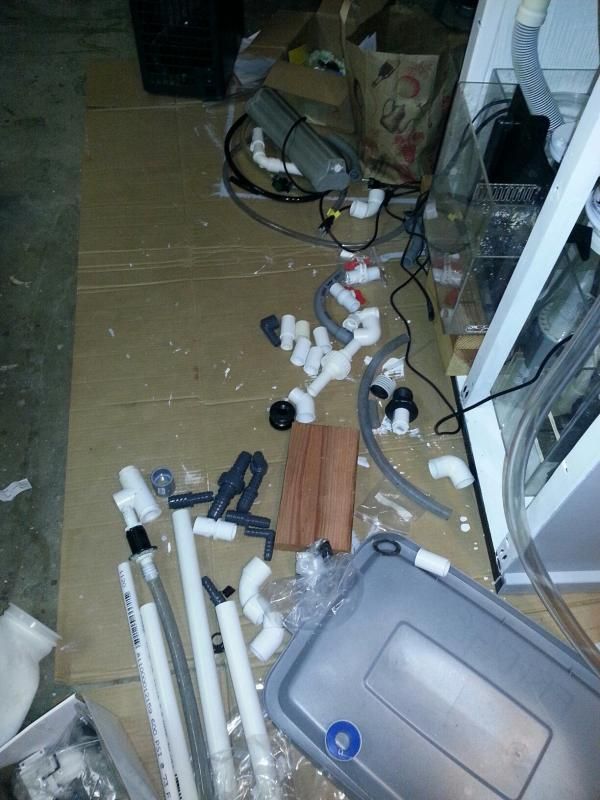
      Well, we finally closed escrow on the new house. So now I thought I would document a bit of my tank and its build.

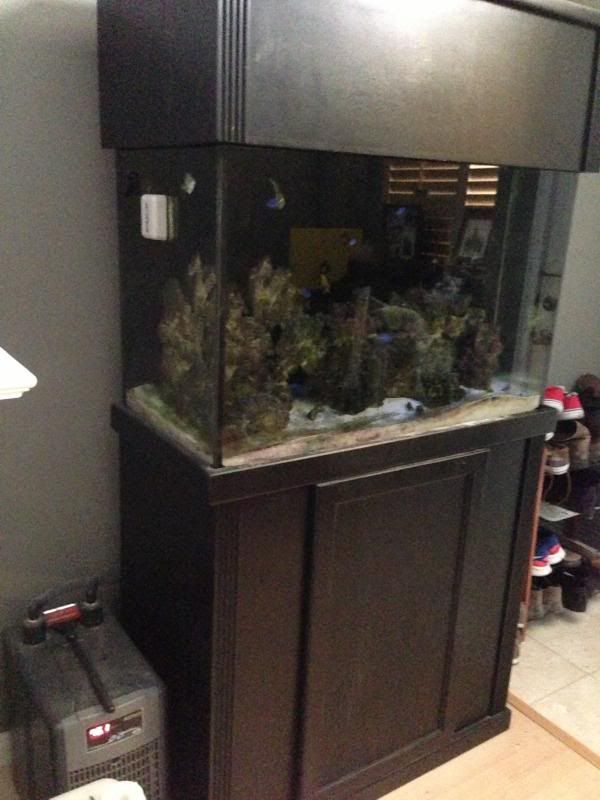
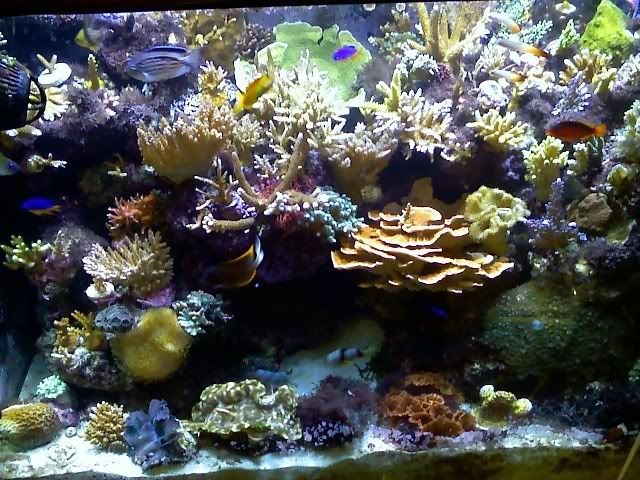
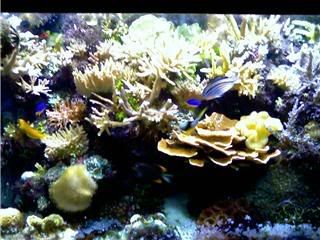
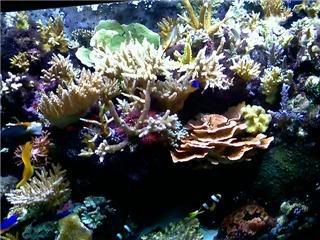
      First off, a bit of history. Here are few crappy pics of my last tank. This was about 6 yrs ago I believe. 65g, and a 20g tank plumbed together. It was fun while it lasted...Getting fired from my job kinda ended the enjoyment for me. I had to sell it since I had begun neglecting it. And of course you never make back the money you put into it.


      Last edited by pirate2876; 05-16-2013 at 12:59 PM.

    2. #2
      pirate2876 is offline Registered User
      Enter Status Here..
       
      I am:
      Poorly
       
      Join Date
      Apr 2006
      Location
      Lake Hodges, Escondido
      Posts
      2,513
      This time around I found another 65g on CL, that I will be doing a mixed reef in as well. I've found I like too many different types of corals to try and limit myself to just sps, or lps.

    3. #3
      pirate2876 is offline Registered User
      Enter Status Here..
       
      I am:
      Poorly
       
      Join Date
      Apr 2006
      Location
      Lake Hodges, Escondido
      Posts
      2,513
      So far the tank is empty and getting ready to be moved. I have a few things that should come in handy when the time comes to put everything in action.

      Tank: 36x18x24
      Sump: looks about 25-29 gallons(May add baffles for a fuge)
      Refugia: TBD
      Lighting: 2x 250 HQI halides(I mays supplement this with a t-5 retro I have as well)
      Cooling: 1/4 hp Artica chiller
      Skimmer: Old Euroreef (Model?) or a BM NAC-7 I have as well.
      Water movement: 2x MP-10's and a Tunze 6055 on a controller
      Controller: RKL
      Reactor: TBD

      I am probably about a month or so away from setting up the tank. I need to strip and refinish the outside and inside of the stand. Both show signs of water damage, and I want to seal and paint. More updates to follow, I just wanted to start the thread since I have a minute.

    4. #4
      pirate2876 is offline Registered User
      Enter Status Here..
       
      I am:
      Poorly
       
      Join Date
      Apr 2006
      Location
      Lake Hodges, Escondido
      Posts
      2,513
      So the painting is about done. I still need to touch up a few spots, but big stuff is done.
      [IMG][/IMG]

      The stand and canopy are sort of a light blue/grey, and both are bright white on the inside. I used a weather proof white on the inside, to hopefully hold up for years to come. The paint has been gassing out for a few weeks now, hopefully completely venting any gases it could be giving off.

      Ive installed the T-5 Retro kit as well. What I didnt know is that those end caps swivel around if you dont hold the bulb while tightening them down. Everything worked before mounting, now that they are mounted I noticed the connections inside the end caps are loose, and that as I tightened the bulb down, the bulb twisted and probably stripped the internals of the endcaps. Now the bulbs dont fire...
      [IMG][/IMG]
      In frustration I went ahead and ordered a pre-wired fixture with t5 and LED bulbs. I've had that retro kit forever anyways, and I wanted more Led anyways.
      Last edited by pirate2876; 08-05-2013 at 02:26 PM.

    5. #5
      pirate2876 is offline Registered User
      Enter Status Here..
       
      I am:
      Poorly
       
      Join Date
      Apr 2006
      Location
      Lake Hodges, Escondido
      Posts
      2,513
      [IMG][/IMG]

    6. #6
      pirate2876 is offline Registered User
      Enter Status Here..
       
      I am:
      Poorly
       
      Join Date
      Apr 2006
      Location
      Lake Hodges, Escondido
      Posts
      2,513
      Now for the sump..
      [IMG][/IMG]
      [IMG][/IMG]

      I dont have a whole lot of room in the sump or overflow, so I wanted to try and experiment with it a bit. I added a h.o.b CPR refugium that I want to have drain from the overflow return. I dont want the return from the overflow anyways, and was thinking that maybe I can valve and control the amount of water coming from the overflow to the sump. The water lvl in the tank may be issue though as I put a screen on it, which will lower the tank water lvl.
      [IMG][/IMG]

      So until I get water in it and can test everything, this is really just an idea. The teeth in the overflow maybe able to handle the amount of water going into the overflow as is.
      Last edited by pirate2876; 08-05-2013 at 09:33 AM.

    7. #7
      smirkis is offline Registered User
      Enter Status Here..
       
      I am:
      Set you mood here...
       
      Join Date
      Oct 2008
      Location
      near the 15 and 805
      Posts
      1,464
      why don't you just cap that, and have two stand pipes in the over flow? one for your sump, and the smaller one to feed your fuge? lookin good otherwise! but that might lower your water level inside the display

    8. #8
      pirate2876 is offline Registered User
      Enter Status Here..
       
      I am:
      Poorly
       
      Join Date
      Apr 2006
      Location
      Lake Hodges, Escondido
      Posts
      2,513
      Quote Originally Posted by smirkis View Post
      why don't you just cap that, and have two stand pipes in the over flow? one for your sump, and the smaller one to feed your fuge? lookin good otherwise! but that might lower your water level inside the display
      I may do that. I want to see how much water I can push over the teeth and through the drains.

    9. #9
      kylelaflamme is offline Registered User
      Enter Status Here..
       
      I am:
      Set you mood here...
       
      Join Date
      Aug 2013
      Location
      La Mesa, CA
      Posts
      77
      Looking good so far

    10. #10
      pirate2876 is offline Registered User
      Enter Status Here..
       
      I am:
      Poorly
       
      Join Date
      Apr 2006
      Location
      Lake Hodges, Escondido
      Posts
      2,513
      Thanks, I have a long way to go...

      [IMG][/IMG]

      I'm thinking of hard plumbing the refugium. I need to minimize risk of water spills, and a floppy vinyl hose sounds like a potential one. I ordered the bulkhead and valve, and can use some PVC I have around the garage. I also ordered a media reactor for GFO, or carbon. I'm still on the fence about bio-pellets, but if I have the room I may try and incorporate a reactor somewhere.

      [IMG][/IMG]

      Lights are almost finished. I installed the halides and supplemental T-5. So far really impressed with this Hamilton Fixture. It has 2 t-5s in a V shape to help with space, and it also has LED moon lights down the center.
      I have am Aqua pink, and a Actinic for supplemental lighting. I really want the corals to "pop" so I also have another 36" strip LED I got ebay that I still need to install. Im sure its overkill, but eh.

    11. #11
      pirate2876 is offline Registered User
      Enter Status Here..
       
      I am:
      Poorly
       
      Join Date
      Apr 2006
      Location
      Lake Hodges, Escondido
      Posts
      2,513
      Well I finally finished the return section and the drain (almost, I bought the wrong size valve). I plumbed my reactors with the return. I'm trying minimize pumps and electrical usage as much as possible. If anyone sees any problems I don't, please let me know. I Modded the RLSS reactor to be a bio-pellet reactor. I hope it works for this. I was very impressed with the construction and quality of the RLSS. I think I'm going to upgrade my skimmer to one of theirs as well.


      The backside of the sump. I need to get a fuge light that doesn't interfere with the drain.
      Last edited by pirate2876; 08-20-2013 at 08:22 AM.

    12. #12
      pirate2876 is offline Registered User
      Enter Status Here..
       
      I am:
      Poorly
       
      Join Date
      Apr 2006
      Location
      Lake Hodges, Escondido
      Posts
      2,513
      Lights are complete as well. Two 250w HQI Phoenix bulbs, two 39w T-5's with Led center strip, and an 36" LED Actinic. All cooled down by two fans on a speed control switch.

    13. #13
      pirate2876 is offline Registered User
      Enter Status Here..
       
      I am:
      Poorly
       
      Join Date
      Apr 2006
      Location
      Lake Hodges, Escondido
      Posts
      2,513
      This is what happens when you dont plan your drains correctly. about a hundred bucks in misc plumbing parts you dont need...

    14. #14
      inlandkid is offline Registered User
      Enter Status Here..
       
      I am:
      Set you mood here...
       
      Join Date
      Jan 2014
      Location
      15 and 74 in lake Elsinore
      Posts
      259
      i have boxes of that kinda stuff why is it every time its easier just to buy then to sort through

    15. #15
      Vince's Avatar
      Vince is offline Site Moderator
      Enter Status Here..
       
      I am:
      Hungry
       
      Join Date
      Jan 2010
      Location
      ramona
      Posts
      1,985
      Wow looks good so far--will be following this one.

    + Reply to Thread

    Thread Information

    Users Browsing this Thread

    There are currently 1 users browsing this thread. (0 members and 1 guests)


    Posting Permissions

    • You may not post new threads
    • You may not post replies
    • You may not post attachments
    • You may not edit your posts